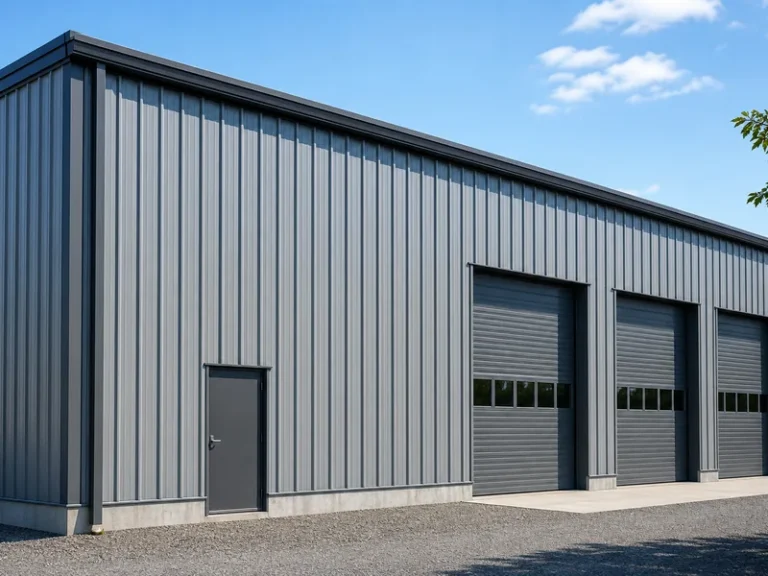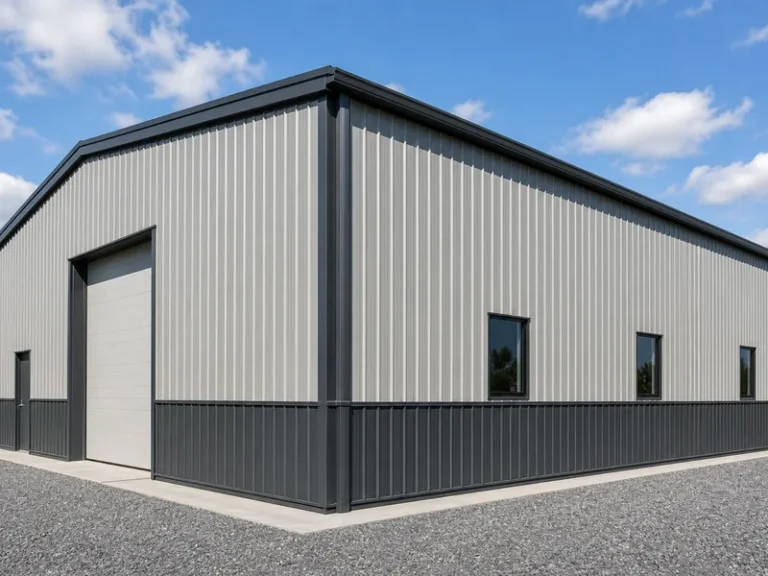





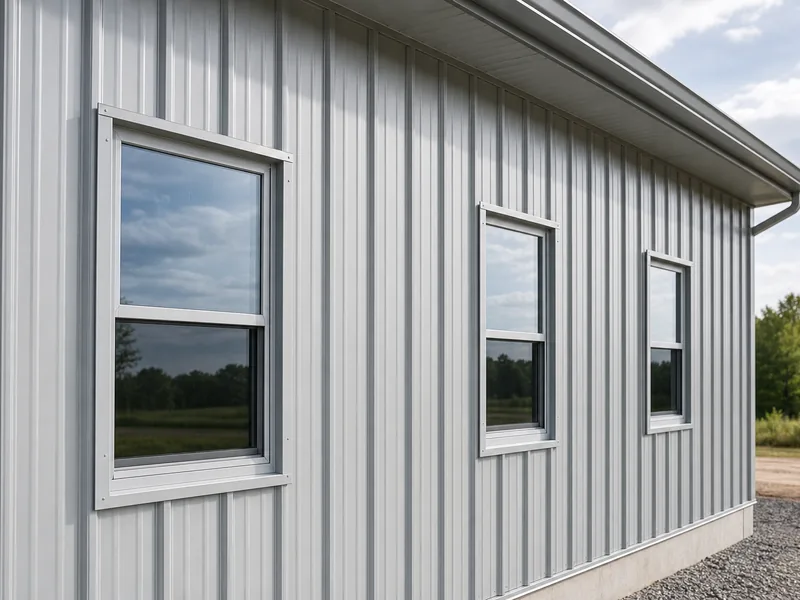
You can add a window to almost any metal building, new or existing. What decides whether it leaks, sags, or voids a warranty is where you cut and how the opening is framed. A window set in a clear bay and tied into reinforced steel will outlast one screwed over a panel rib next to a brace. This guide walks through choosing the window, finding a spot the steel frame allows, and cutting, framing, sealing, and budgeting the opening so it holds up to wind and rain.
Window types and how each one mounts to steel
Metal building windows split into two groups by how they attach: self-framing kit windows that screw to the exterior panel, and conventional windows framed into the steel opening. The difference drives almost every other choice you make.
A self-framing window mounts to the largest rib of the wall panel and needs no separate opening frame, which makes it the fast, low-cost route for sheds, garages, and shops. It carries no building load and seals against the panel face, so it suits smaller fixed or sliding units. A conventional window is set into a reinforced steel sub-frame built into the wall. That sub-frame holds the unit square, spreads wind pressure into the structure, and gives a tighter, longer-lasting seal, so it is the better choice for larger or architectural glass. Knowing which path you are on tells you how big an opening you can cut and how much reinforcement it needs.
Window styles follow normal residential and commercial categories: fixed units for daylight only, horizontal sliders and single- or double-hung units for ventilation, and casement or awning units where you want directed airflow. Frames are usually vinyl, aluminum with a thermal break, or fiberglass; in coastal or high-humidity air, galvanized or marine-grade steel frames resist corrosion better. For the glass itself, double-pane insulated units with a Low-E coating cut heat transfer through what is otherwise a thin, conductive wall. A window is one more of the metal buildings components that has to work with the panel profile, so match the unit and its trim to your wall system. The steel siding options on the building decide how the window seals against the ribs.
Where a window can go in a steel frame
A window opening has to land in clear wall, away from the columns, X-bracing, and main rigid frames that carry the building’s loads. Cut into any of those and you trade a window for a structural problem.
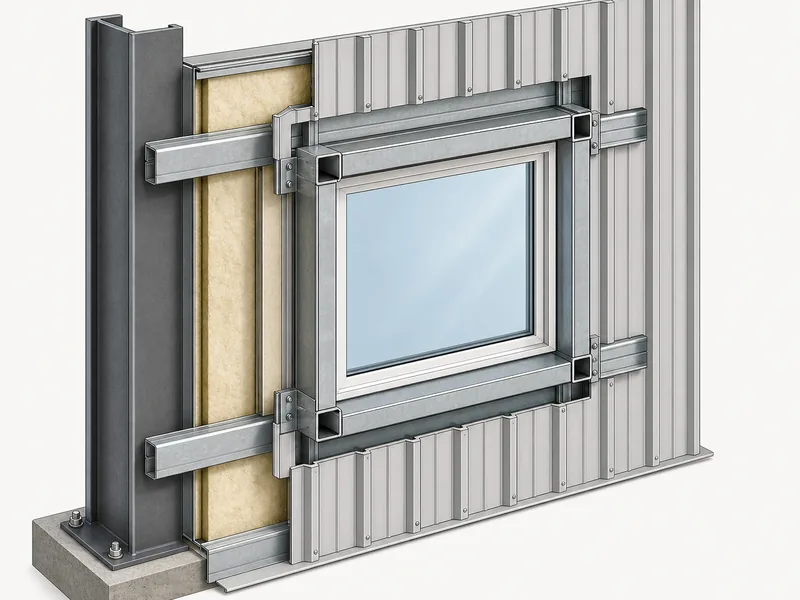
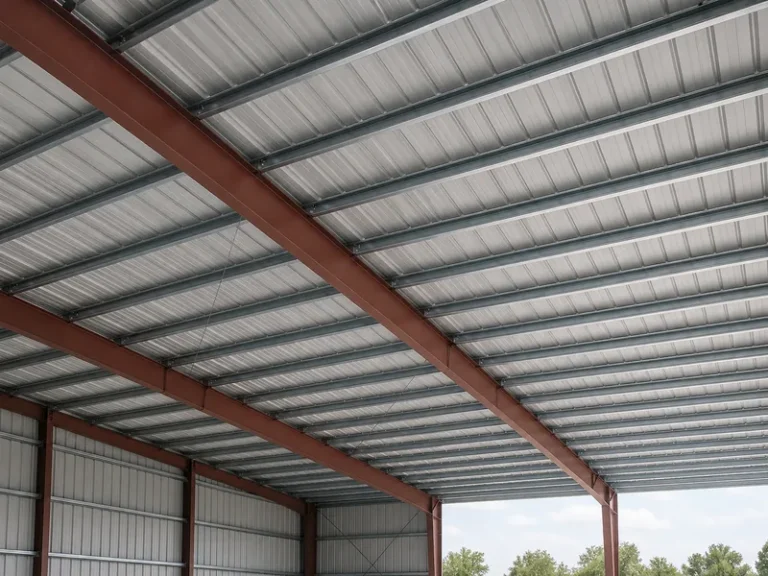
Rigid-frame columns sit at the bay lines, typically 20 to 25 feet apart, and a window cannot occupy that line. Diagonal X-bracing is the rule you never break, because it resists wind and seismic forces; an opening must sit in a bay with no bracing in it. The opening also has to work around the horizontal girts and the roof purlins. Girts often run around five feet on center, which sets the practical height band for a window before you have to add or relocate framing. Reviewing the building’s structural drawings before you mark anything shows where the columns, girts, purlins, and bracing actually fall. The steel building wall layout then tells you which panels you can open without touching a load path.
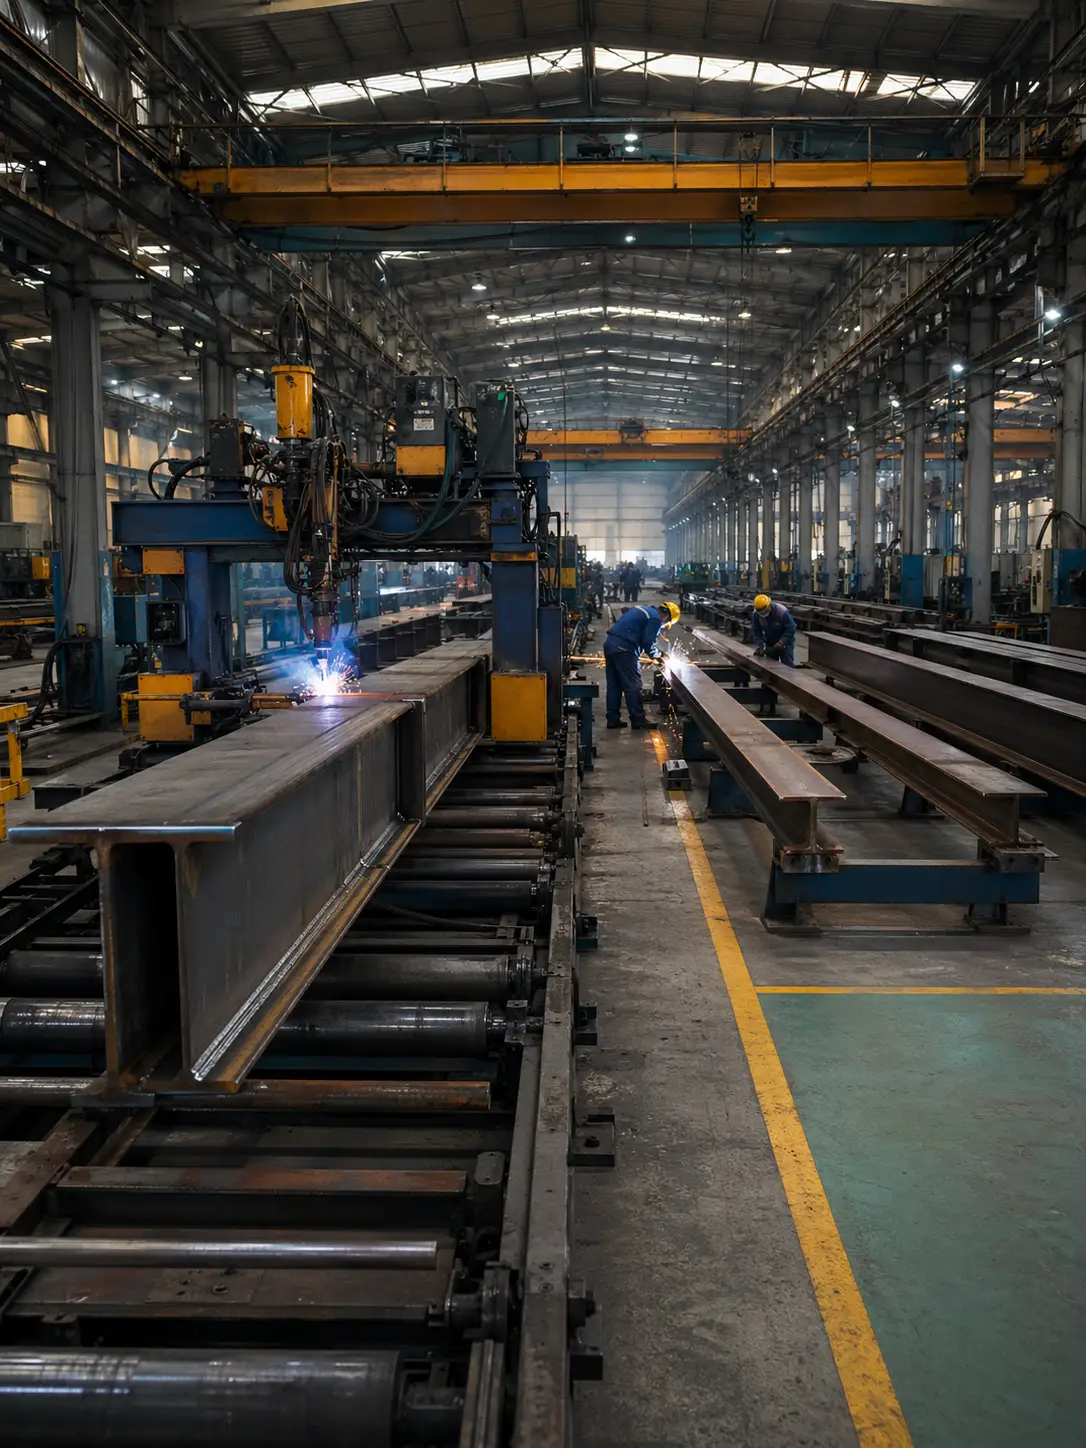
Timing changes the job. On a new building, call out every window during the design phase so the manufacturer engineers pre-framed openings, jamb and header reinforcement included, into the wall panels before they ship. That is far cheaper than field-cutting later, and it keeps the panel’s stiffness intact from the start. As a steel structure manufacturer that handles design, fabrication, and installation in-house, KAFA can fold a window schedule into the steel building design and fabricate the reinforced openings up front. On an existing building the work is a retrofit. You field-cut the installed panel, sometimes replacing a full panel section when the cut falls badly, and add the reinforcement in place with access from one side only. Either way, if you plan a large expanse of glass or need to move a brace, tell the manufacturer before engineering begins, not after the panels are made.
Tools and materials for the job
Cutting and sealing a steel wall calls for metal-rated cutting tools, self-drilling fasteners, and a layered set of weatherproofing materials. Gather everything before you open the panel, because a half-cut wall is not something to leave overnight.
- Cutting and layout: tape measure, level, marker, and a power drill; a jigsaw or reciprocating saw with a metal blade or power shears for a do-it-yourself cut, or a plasma cutter or CNC saw for a clean factory-grade edge.
- Framing and fastening: steel tube or pressure-treated wood for the reinforcing sub-frame, plus self-drilling, self-tapping screws rated for the panel gauge.
- Weatherproofing: a sill pan, self-adhered flashing tape, butyl tape, exterior-grade silicone or polyurethane sealant, J-channel or J-trim, and foam closure strips for the panel ribs.
- Safety: cut-resistant gloves, eye protection, and hearing protection, since cut steel edges are sharp and the work is loud.
Cutting, framing, and setting the window
The install runs in a fixed order: confirm the opening, cut it, reinforce it, then set and fasten the window, because each step locks in the one after it. Skip the reinforcement and a clean cut becomes a wavy, leaking panel.
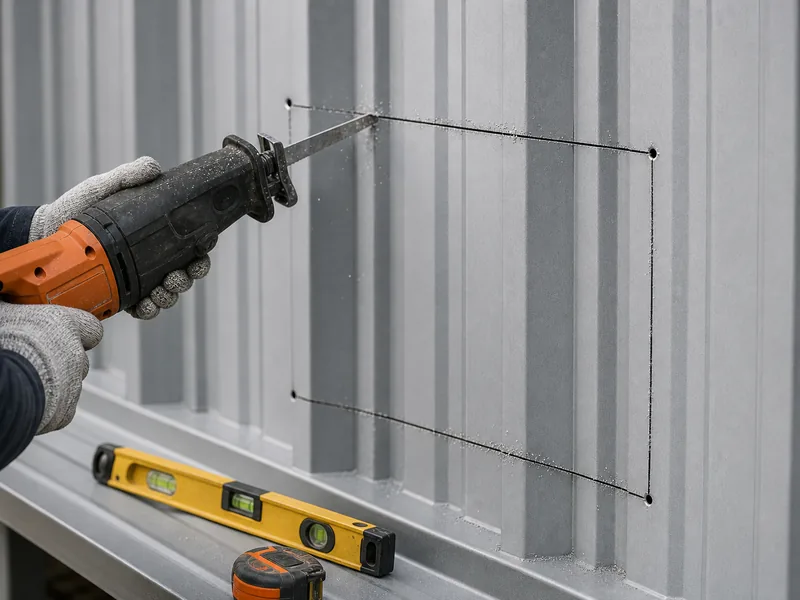
- Confirm the location against the structural drawings and check again that no brace, column, or main frame is in the way. Mark the opening on the panel, aligning the lines to the high ribs so the window seals evenly.
- Size the framed opening about a quarter inch larger than the window on every side. That clearance lets you shim the unit level and leaves room for the steel to expand and contract.
- Drill a pilot hole at each corner, then cut along the line with a metal blade and deburr the edges so they do not cut the flashing or your hands.
- Build the reinforcing sub-frame from steel tube or wood and fasten it around the opening. It carries the window’s weight and restores the stiffness the panel lost when you cut it.
- Set the window in the opening, shim it level and plumb, and check it for square before driving a screw. Fasten through the frame with self-drilling screws, snug but not overtightened. Crank them down and you distort the frame and trap the thermal movement the gap was meant to allow.
Flashing and sealing a watertight opening
Water management is layered from the bottom up: a sill pan first, then flashing up the jambs and head, then sealant and trim that shed water outward. Reverse the order anywhere and you build a funnel that feeds water into the wall.
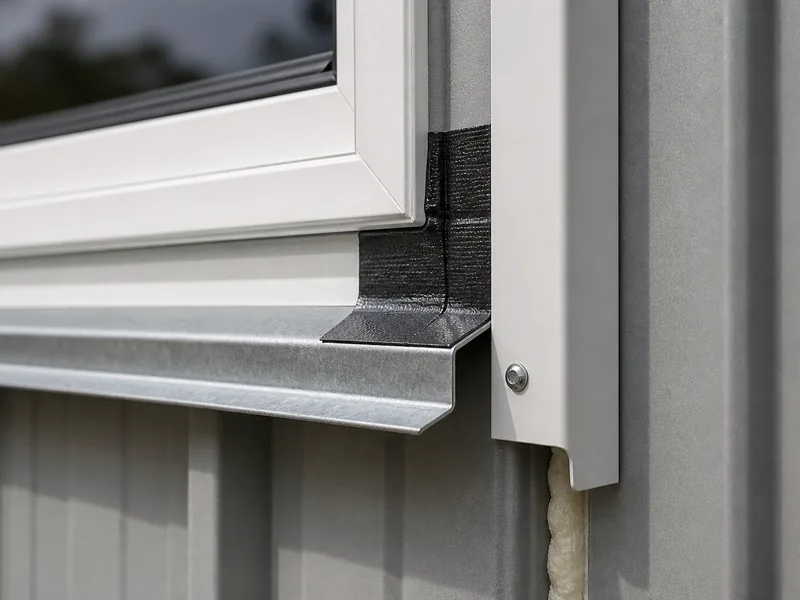
Start with a sill pan across the bottom of the opening so any water that gets behind the frame drains back out. Run a bead of butyl tape between the window frame and the sub-frame. Then apply self-adhered flashing tape up the jambs and across the head, lapping each piece over the one below it the way roof shingles overlap. Seal the perimeter with exterior-grade silicone, then install J-channel or J-trim down the jambs and along the sill, again overlapping downward so every joint sheds water away from the opening. Pack foam closures where the trim meets the panel ribs to close the gaps the corrugation leaves. When the trim is on, run the window through its full operation, fill any small gaps with foam, and test the opening for leaks after the first heavy rain. A draft or a damp sill is far easier to fix then than rot discovered a year later.
Cost and the common mistakes that inflate it
Budget per window, not per building, because materials, labor, and permits stack up differently for a cut-and-reinforced steel wall than for a stick-framed one. The numbers below cover the window, fasteners, and trim; they exclude interior finish, electrical relocation, and any structural redesign if a brace has to move.
Standard vinyl units run roughly $200 to $800 each in materials, while architectural or steel-framed units run higher, about $700 to $2,000 or more per window. Labor for a straightforward set is commonly $400 to $600 a window, but it climbs toward $1,800 when a steel wall has to be cut, reinforced, and re-flashed. Permits and delivery each tend to land around $100 to $300, depending on location. Pre-framed openings ordered with the building can reduce field labor, since the cutting and reinforcement happen at the plant instead of on a ladder.
Most cost overruns trace back to the same avoidable mistakes:
- Cutting into X-bracing, a girt, or a column, which forces a structural repair on top of the window.
- Skipping the reinforcing sub-frame, which lets the panel distort and the seal fail.
- Overtightening the fasteners, which warps the frame and breaks the weather seal.
- Leaving out the sill pan or lapping flashing the wrong way, so water tracks inward.
- Ignoring code on safety glass and egress: glazing set close to the floor, commonly within about 18 inches, may need tempered safety glass, and a habitable room may need an egress-rated unit.
- Not telling the manufacturer about openings before engineering, which turns a factory detail into field rework.
Plan the opening before you cut
The window you can install cleanly is the one whose opening was located, sized, and reinforced before the saw ever came out. Lock the position against the structural drawings first, decide between a self-framing kit window and one framed into reinforced steel second, and match your flashing to your climate last. On a new building, fold the openings into the design so the reinforcement is fabricated in rather than retrofitted. For a steel-frame project, that one design decision keeps a window from becoming a leak or a load-path problem. If you are sizing openings for a new building, request a quote with the window schedule attached so the jamb and header reinforcement is engineered before the panels are fabricated.
FAQ
Can you put a window in an existing metal building?
Yes. You can field-cut and reinforce a window opening in an existing metal building, as long as the spot clears the columns, X-bracing, and main frames. Check the structural drawings first, then add a steel or wood sub-frame around the cut to carry the unit and restore the panel’s stiffness.
Where should you not cut a window opening?
Never cut through X-bracing, a rigid-frame column, or a main load-bearing member. These carry the building’s wind, seismic, and gravity loads, so a window has to sit in a clear bay and work around the girts and purlins instead.
How much bigger should the rough opening be than the window?
Frame the opening about a quarter inch larger than the window on every side. That gap lets you shim the unit level and plumb and leaves room for the steel panel to expand and contract without binding the frame.
Do metal building windows need tempered glass?
Sometimes. Glazing set close to the floor, commonly within about 18 inches, often must be tempered safety glass under the building code, and units in bedrooms or other habitable rooms may need to meet egress sizing. Confirm the requirement with your local building department before ordering, since the rules depend on the room and the opening height.
Should you choose a self-framing kit window or one framed into the steel?
A self-framing kit window screws to the panel rib and installs fastest, which suits small openings in sheds, garages, and shops. A window framed into a reinforced steel opening seals tighter and spreads wind load into the structure, so it is the better choice for larger or architectural units and for any wall you want airtight.
Further Reading
- National Fenestration Rating Council (NFRC) — independent energy-performance ratings (U-factor and Solar Heat Gain Coefficient) to compare glazing when you select metal building windows.
- International Code Council (ICC) — publisher of the IBC and IRC, which set the safety-glazing, egress, and permit requirements that govern wall openings.
- Metal Building Manufacturers Association (MBMA) — design and structural guidance for metal building systems, including how wall openings interact with the primary and secondary framing.